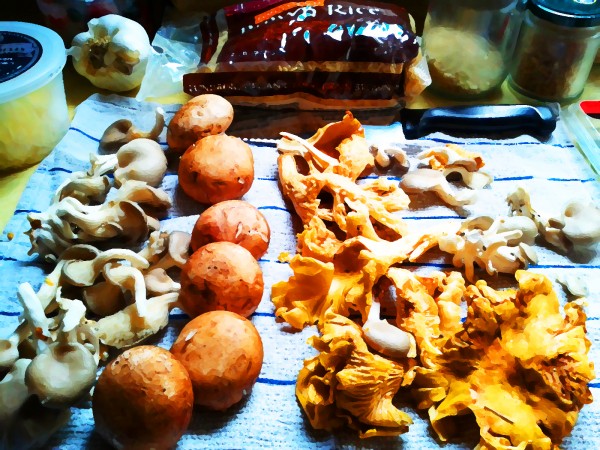
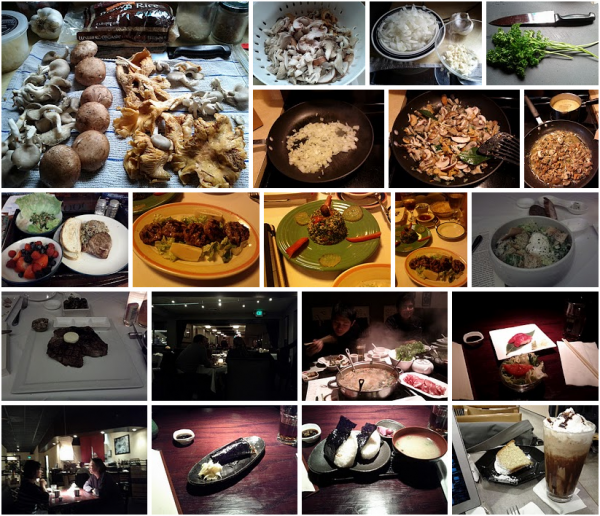
Those familiar with my Google+ stream will have noticed I take a lot of pictures of food, generally posted in my album Cuisininart (pictures of food – cuisine in art – cuisin-in-art – a riff on cuisinart – get it? No? Oh, you don’t WANT to get it. Oh well.).
This got started because I wanted to do restaurant reviews on this site. I love eating out; I’m a definite foodie, and I think a lot about what makes a good restaurant, from a dive bar to a five star. I’ve evendone a few reviews but I noticed I wasn’t writing reviews because I wasn’t taking pictures.
I prefer using pictures in blog posts based on the ideas of my good friend Jim Davies (and seconded by my wife Sandi Billingsley) who both think pictures make blog posts stronger. This is basic comics theory: words and pictures are stronger together.
So I started taking pictures. As usual, I found I was really good at collecting input, not so much at producing output. I was taking pictures all the time and not doing things with them because most of my free time is spent writing.
Around the time Google+ came out, I had a brainflash: why don’t I just post the pictures I’ve taken as a way of using them up. So I created the Cusininart album … which prompted me to take more and more pictures, even without reviews in mind.
I got so good at taking pictures of what I was eating it became a joke. My wife once explained it to a friend joining us for dinner: “He likes to take pictures of his food.” Which in turn prompted this post of me explaining this to you.
But I’m trying to turn this into more than just random photographs. Following the example of people like Jim Davies, Andy Fossett and Waldemar Horwat, I’m trying to make this a learning experience, to discover how to take good pictures of food.
What I’ve found so far isn’t scientific by any stretch of the imagination; consider this lessons learned from a few case studies.
- Don’t use your camera’s flash. As many of you probably already know, camera flashes wash out the pictures. Don’t use it unless you absolutely have to; try increasing the exposure of your camera to instead.
- Take lots of pictures. Take pictures of each dish, of the whole spread, from more than one angle. It’s not just that two or three shots of each one helps you avoid loss to a blurry jiggle; it gives you more choices for the article.
- Take pictures from different angles and distances. Thirty to forty-five degrees seems to be a good angle, but you should experiment with closeups, overhead shots, distance shots. You’ll be surprised what looks best once you review the pictures later.
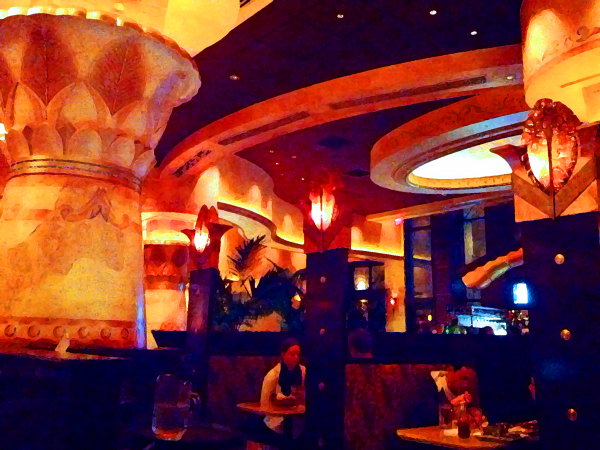
- Most of the shots should be of food. For what I want to achieve in my albums, having most shots be of food works best. Restaurants are less interesting than their dishes, unless it’s a special restaurant. One out of five is OK.
- Keep it candid. It actually helps to take pictures before you’ve eaten, and even to spend a moment posing some of the food. But don’t waste a lot of time on it: the immediacy of the dishes in their natural arrangement is often enough.
I’m sure I could refine that list more. Perhaps I will after I spend more time experimenting more systematically, maybe even throwing in findings from food I have cooked. But until then … that’s what I’ve learned from taking pictures of my food.
-the Centaur


